
Sharing your calendar with a Warwick colleague
Sharing your calendar with another Warwick Live@edu (Outlook) user is easy. Please see below for instructions are setting this up in Outlook. If you are a Webmail user (e.g. if you have a Mac and don't usually use Outlook) then please scroll to the bottom of the page for an alternative set of instructions.
Instructions for Outlook users
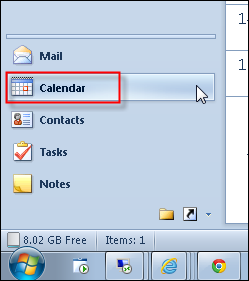
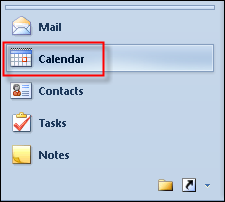
- Open Outlook and click the Calendar option in the Navigation Pane
- Ensure you are on the Home tab and click the ‘Share Calendar’ option

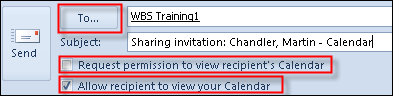
- Click the To… button and select the recipient as you would a normal email. If you wish to request permission to view the recipient’s calendar select the first checkbox. By default the option to share your calendar is ticked although you could remove this.
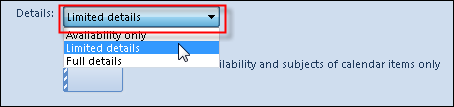
- Select the level of access to your calendar you wish to give to the recipient. This can be ‘Full details’, Limited details (only shows availability and appointment subjects) or Availability only.
- Add a message if you wish and click Send.
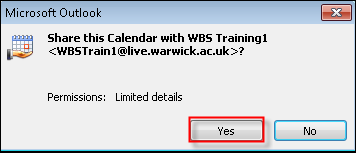
- Click Yes to the confirmation message
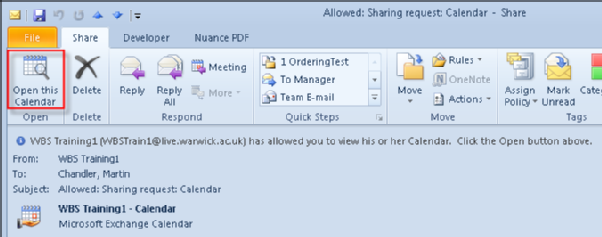
- In this case the recipient agreed to my sharing their calendar and I received the following response. Clicking ‘Open the Calendar’ added this calendar to my own account.
- To view shared calendars ensure you are in the calendar section in the Navigation Pane
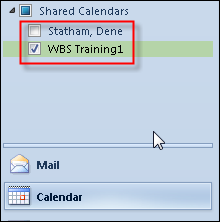
- You can show or hide the shared calendars by using the checkboxes
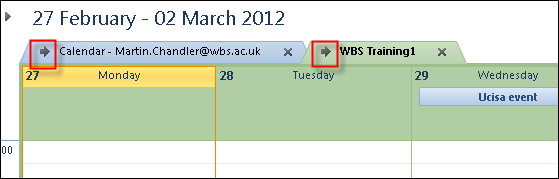
- By default calendars are shown side by side…
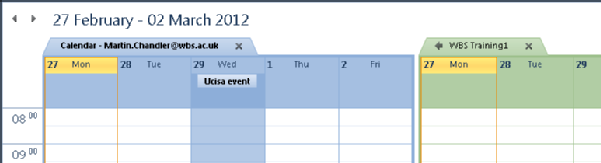
- … but you can click the arrows to have the calendars display one on top of the other (overlay mode). The same arrows also undo Overlay mode and go back to side-by-side mode.
Instructions for Webmail users
- Open a browser and visit http://webmail.warwick.ac.uk
- Log in with your regular IT Services username
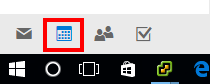
- Click the calendar icon at the bottom left of the page
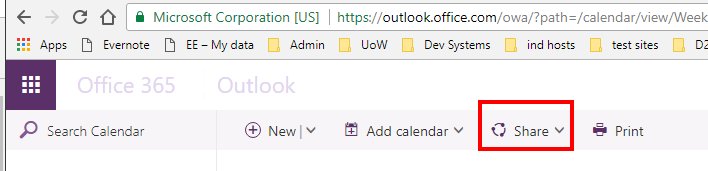
- Click the share option in the top menu
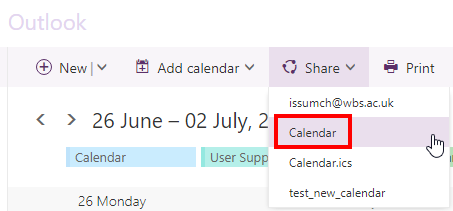
- Select your calendar from the drop-down list
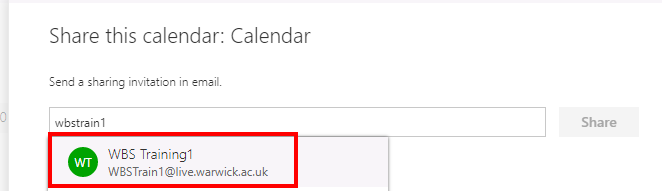
- Search for the person with whom you want to share your calendar and click their name from the results list
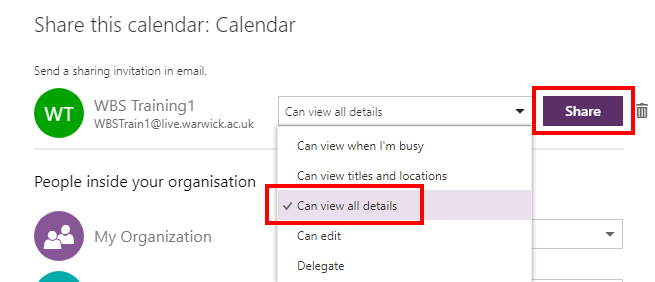
- From the drop-down list decide on the level of access you wish to provide. Here we are providing read-only access, then click Share
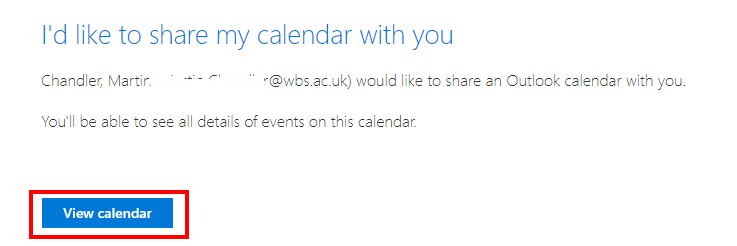
- Finally click done. This should automatically send an email to the person you have chosen to share your calendar with. When they click on the link in their email it should add your calendar to their view
- If you have any problems please contact the WBS Helpdesk (help@wbs.ac.uk)