
Add buttons to a SiteBuilder page
When adding a list of links, you can use the Buttons component to make them appear more prominently on your page.
Note: This option is only available in the Components Editor. Adding button-style links to old visual editor pages requires custom CSS styling.
-
Browse to the page you want to add buttons to.
-
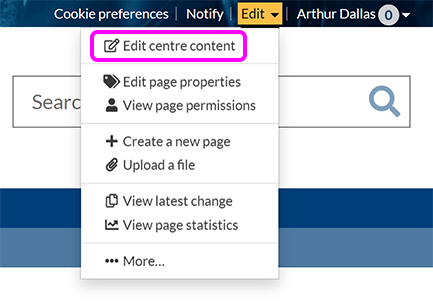
Go to Edit > Edit centre content:
-
Position your cursor where you want to place the buttons.
-
In the left menu, select Icons/buttons > Buttons.
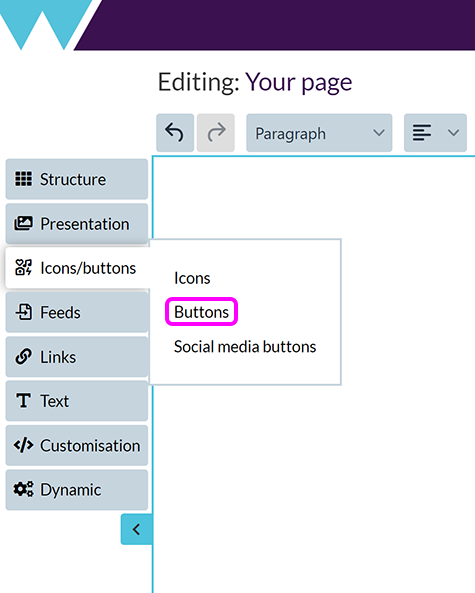
Alternatively, select an existing Buttons component, then choose Settings in the component toolbar:

-
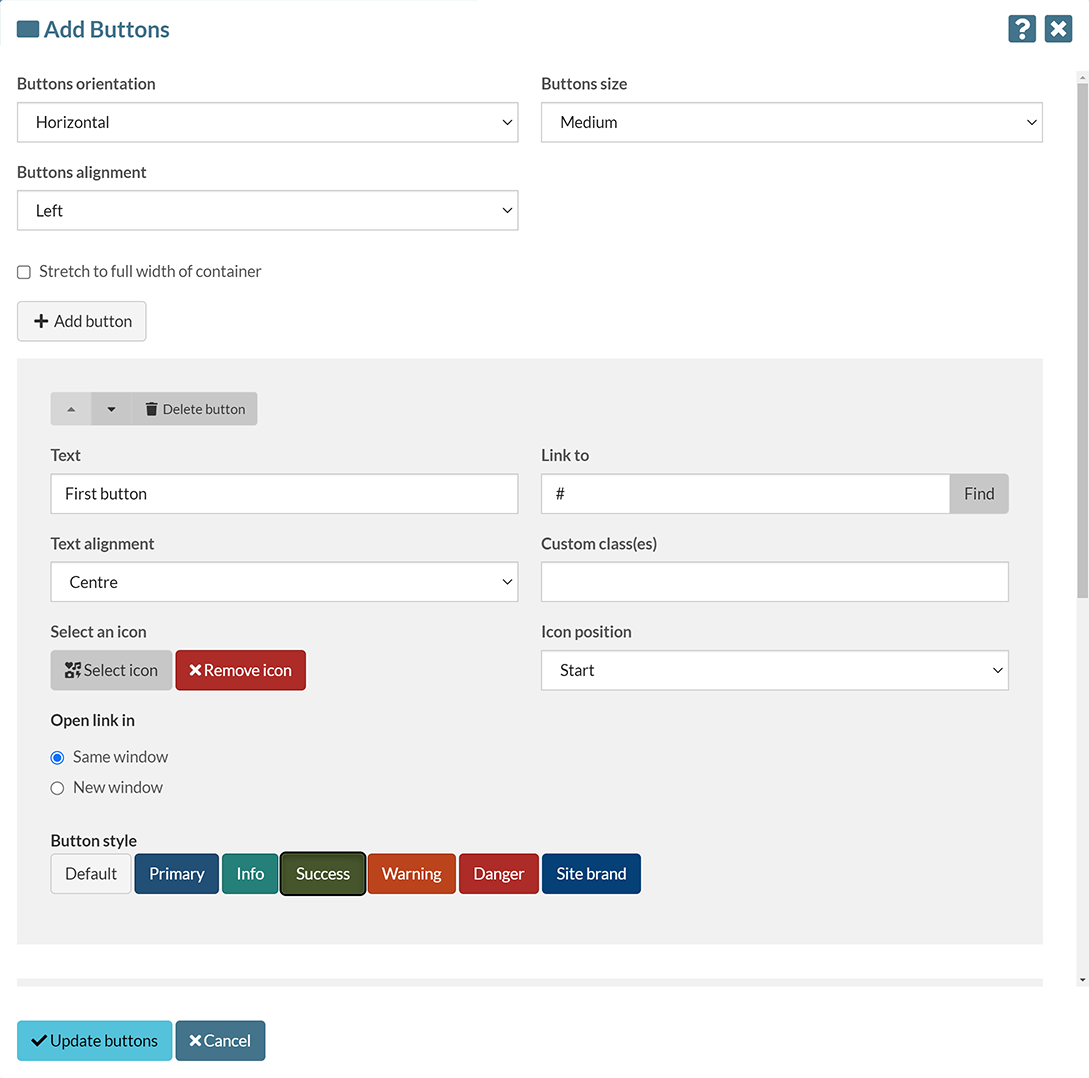
The Add buttons (or Update buttons) pop-up appears:
-
Use the Buttons orientation drop-down to select whether buttons appear in a Vertical list, or a Horizontal row.
-
Use the Button size drop-down to choose how large you want the buttons to appear.
-
To have the buttons appear on the Left, Centre, or Right of the container, select the appropriate option from the Buttons alignment drop-down.
Note: If the buttons have been set to Stretch to full width of container, the Buttons alignment option has no effect.
-
If the relevant checkboxes are selected, the buttons will be stretched to fill the width or height of their container.
Note: The option to have buttons Stretch to full height of container is only available when the Buttons orientation is set to Vertical.
-
For each button, you have the following options:
-
Set the Text you want to display on the button, and the URL you want the button to Link to.
Tip: Buttons can link to other pages, or anchors within the same page page.
-
Optionally, use the Text alignment drop-down to choose where on the button text will appear. This may have a more noticeable effect on larger buttons, or buttons that have been stretched to fill the full width or height of their container.
-
If you want to apply any custom styles to a button, enter the class name in the Custom class(es) box. For more information about how to add custom styles to your page, see our HTML and CSS guidance.
-
You can Select an icon to appear alongside the text on each button. Use the Select icon button to open the Icons pop-up. Here, you can select a common file type icon from the list, or use the Need something else? box to search for a different icon:
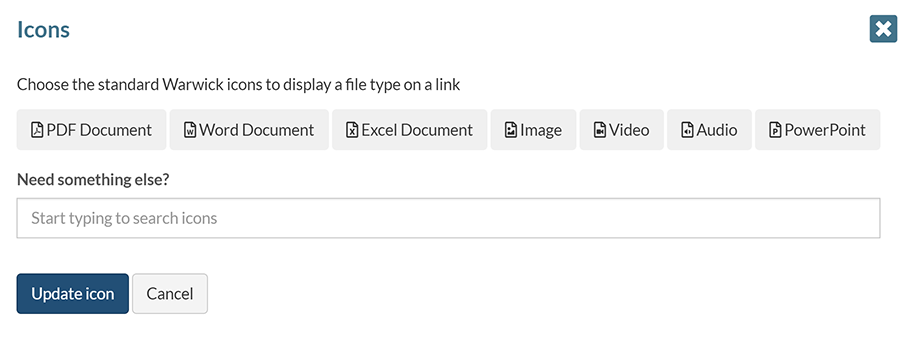
Select the icon you want to use from the options that appear, then Add icon.
-
Use the Icon position drop-down to set whether the icon appears at the Start or End of the button text.
-
Under Open link in, select the appropriate radio button to have the button's link open in the Same window or in a New window.
-
Use the Button style buttons to choose the appearance of each button.
-
-
To add a new button, select Add button. To change the order of your existing buttons, select the Move button up and Move button down arrows. To remove a button one, select Delete button.
Tip: You can add a new button at either end of the existing list.
-
Select Add buttons (or Update buttons).
-
When you've finished editing your page, select Publish.